티스토리 뷰
반응형
Author: 니용

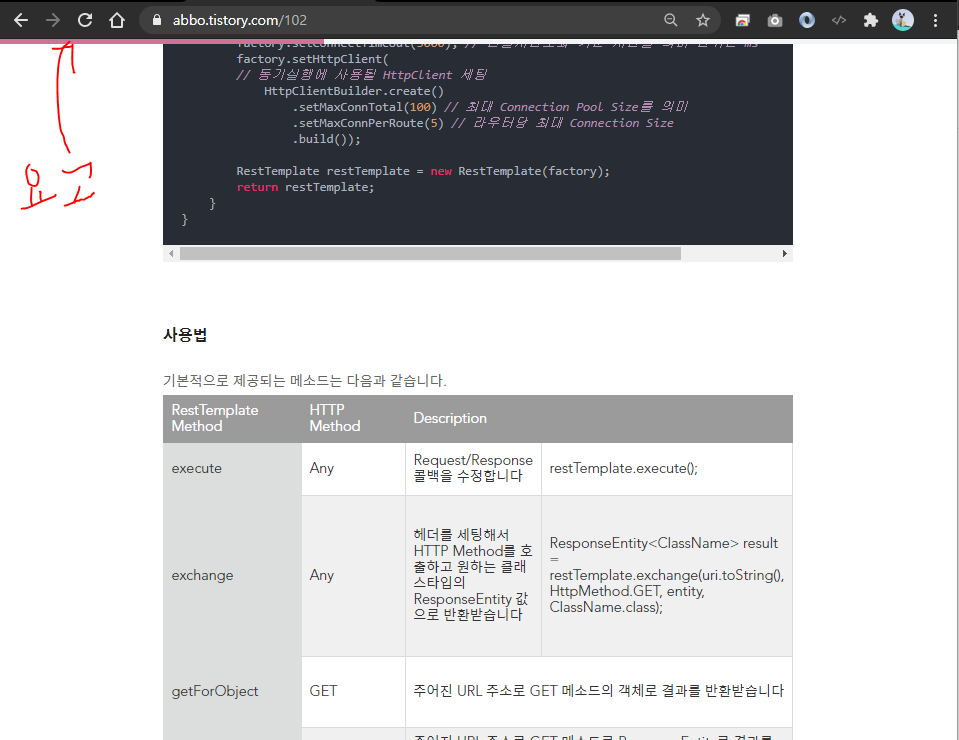
지금 이 블로그를 보시면 Progress Bar라고 해서 아티클 상단에 붙여있는 바가 있어요.
그것을 개발하는 방법에 대해 간단히 적어보려합니다.
이 아티클의 상세 페이지는 제가 직접 작성한 HTML 소스가 아니어서 블로그 편집에 가서 적용하였는데요,
개인 홈페이지를 직접 개발하신 분도 동일하게 적용되는 내용입니다!
CSS
/* Progress Bar */
.progress-container {
  position: fixed;
  width: 100%;
  height: 5px;
  background-color: #f2f4f6;
	z-index: 10;
}

.progress-bar {
  width: 0%;
  height: 5px;
  background-color: #c13c6db3;
}z-inex와 색상은 원하시는대로 적용해주세요 :)
HTML
원하는 영역에 붙여주시면 됩니다. CSS파일에서 가지고 있는 클래스와 같기만 하면 됩니다.
...
			<!-- Progress Bar -->
			<div class="progress-container">
				<div class="progress-bar" id="abboScrollBar"></div>
			</div>
...
JavaScript
얘는 중요한 것이 HTML Tag가 호출된 후에 호출되어야 합니다.
따로 .js 파일을 만들지 않으셔도 <script>태그로 처리 가능합니다. jQuery API는 안쓰셔도 됩니다!
<script>
	$(function(){
		window.onscroll = function () {
			myFunction();
		};
		function myFunction() {
			var winScroll =
					document.body.scrollTop || document.documentElement.scrollTop;
			var height =
					document.documentElement.scrollHeight -
					document.documentElement.clientHeight;
			var scrolled = (winScroll / height) * 100;
			document.getElementById("abboScrollBar").style.width = scrolled + "%";
		}
	});
</script>
id 맞춰주시는건 센스! :)
반응형
'Client' 카테고리의 다른 글
| [React.js] CORS 크로스 도메인 이슈 (3) | 2021.05.04 |
|---|---|
| Jekyll은 무엇일까? (0) | 2021.04.19 |
| Prototype을 알아보자 (0) | 2020.07.14 |
| 반응형 웹을 만들어보자 (0) | 2020.06.13 |
| Thymeleaf Utility Objects (2) (0) | 2020.06.11 |
| Thymeleaf Utility Objects (1) (0) | 2020.06.10 |
댓글
공지사항
